The Lamen

How To Run Roms On The Analogue Pocket: Step-by-Step
Get even more out of the Analogue Pocket (some tinkering required).
Image: Analogue
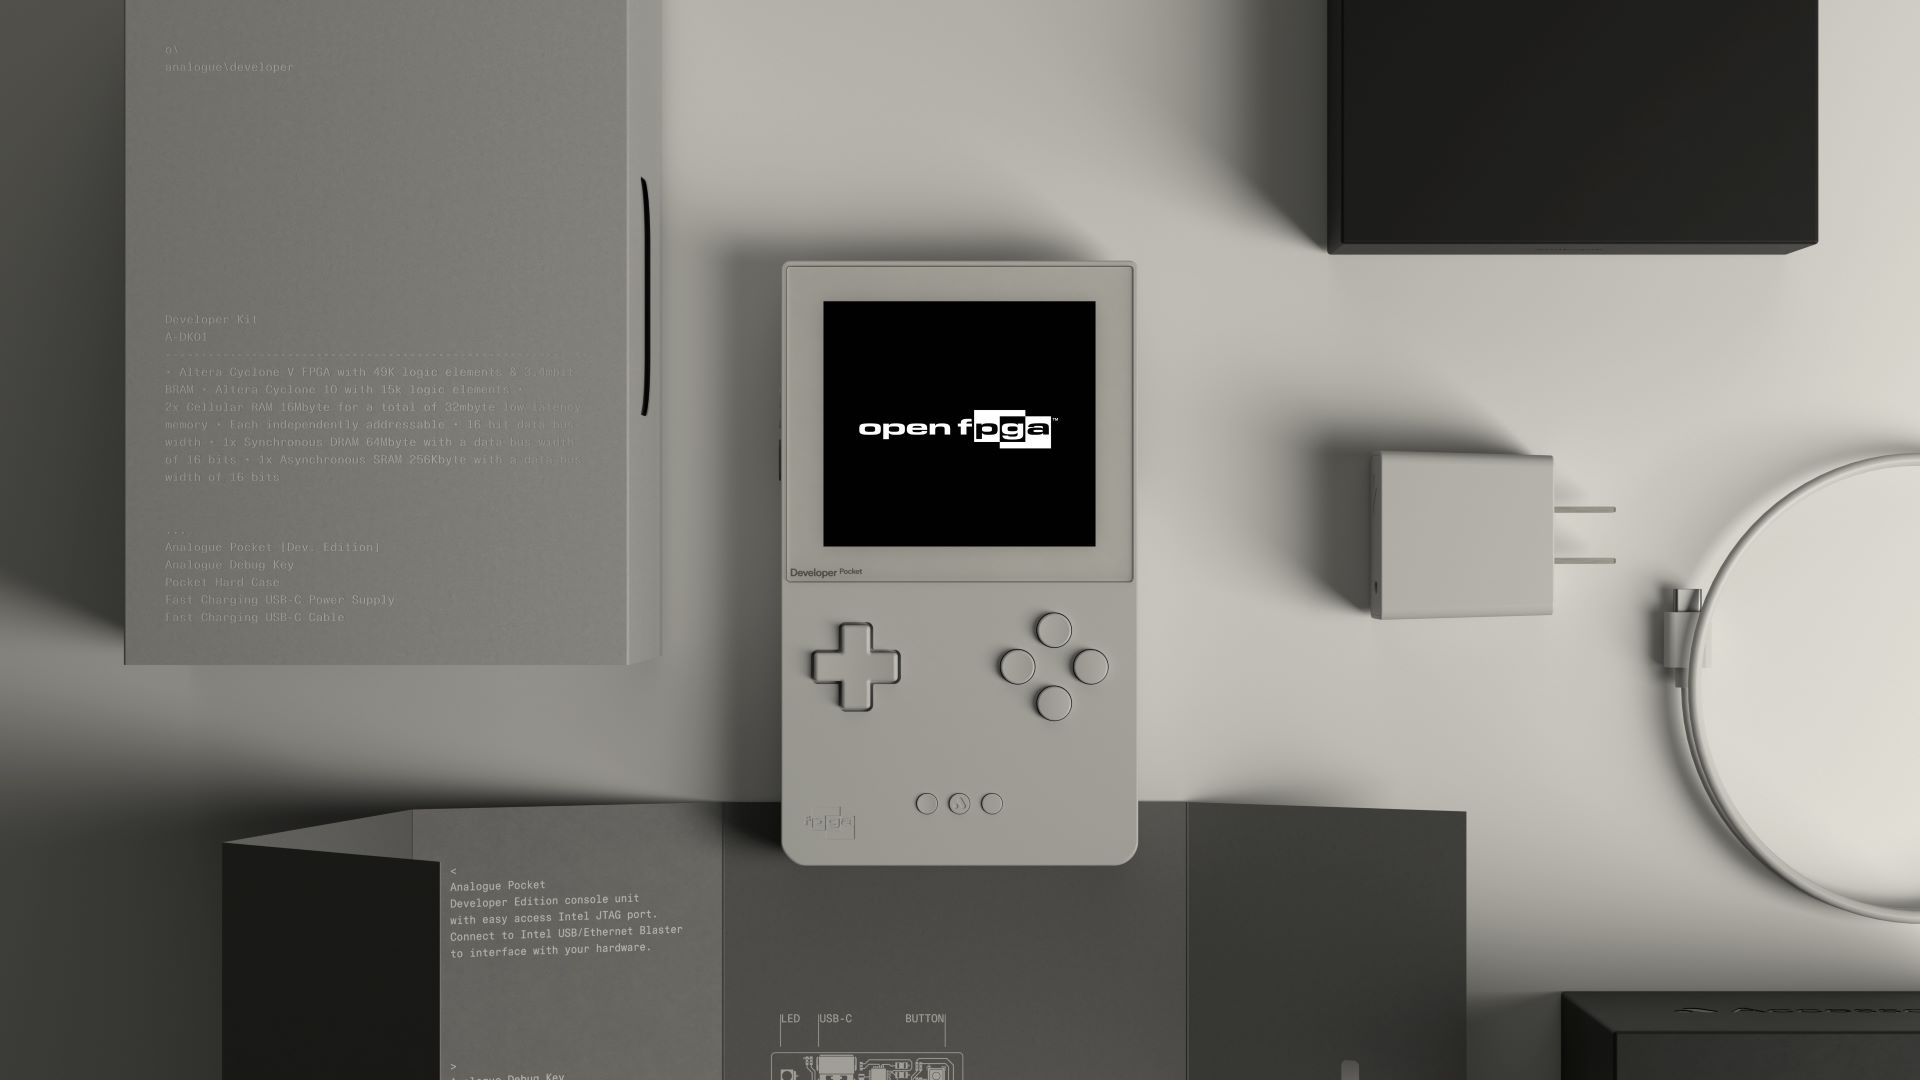
The Pocket recently received the 1.1 firmware update, the highlight of which is the new “openFPGA” feature. It promises support for new consoles via third-party core development, which basically means more emulators than before.
The notable features under the update besides the openFPGA are the Library and Memories. While both are in a half-baked beta stage, you still get a glimpse at what the Pocket might be capable of with future updates.
1. Make sure your Analogue Pocket has the latest firmware installed
To run any ROMs on your Analogue Pocket, you need to have the firmware v1.1 installed at the very least.
If you have already updated your Pocket to its most recent firmware version, you can skip to step 5 of the guide. If not, follow this guide to update your device.
2. Download the most recent firmware from Analogue
You can download the most recently updated firmware version for Analogue’s page here. Remember that you need to install the file on a PC to follow up with the next steps.
3. Prep your microSD card for the update
To install the firmware, you first need to prep your microSD card by formatting it to FAT32 or ExFat. Remember that this procedure gets rid of any files installed on your SD card, so you should transfer any important files beforehand.
Once formatted, simply paste the firmware file titled “pocket_firmware_B_9.bin” onto the SD card.
4. Wait until the firmware installs
Turn off your Analogue Pocket by holding the Power Button for a few seconds. After turned off, insert the prepped microSD card into the slot on the right side of the Pocket. Next, press and hold the power button to turn the device back on.
The Pocket will begin to update automatically and will display a progress bar on the screen. Remember to not disturb the device in any way during the process.
5. Download the GB/GBC and GBA cores from GitHub
GitHub user Spiritualized1997’s page currently has 6 cores for the Analogue Pocket: a GBA core (Game Body Advance), a GB/GBC core (Game Boy/Game Boy Color), a GG core (Sega Game Gear), an SMS core (Sega Master System), an SG-1000 core (Sega SG-1000), and an NES core.
You can download the latest core for each emulator under the Releases section on the right side of the page.
Once downloaded, extract the ZIP files onto your PC. Remove the microSD card from your Pocket, delete the firmware update file, and copy all the files for your cores to your microSD card.
6. Get the BIOS files
Even though you have placed the cores onto your SD card, you still require BIOS files for the respective devices to run the emulators successfully.
While you can find a BIOS file somewhere, the best practice is to extract the BIOS file from your console.
Once you have the BIOS files for the GBA and GB/GBC installed, paste them into the correct directories. Paste the Game Boy files to the Assets/gbc/common folder, and the Game Boy Advance files to the Assets/gba/common folder.
7. Launch openFPGA to run your ROMs
Once the transfers are complete, insert the microSD card back into the Analogue Pocket, and turn the system back on.
Select and launch openFPGA, and choose the emulator you want to run. You can add the ROMs you want onto your microSD card, and simply load them under Run.